Modify and merge 3D point clouds using CloudCompare.
Abstract
This article will explain how to use CloudCompare to modify and merge 3D point clouds, including denoising, manual reduction, and registration of the point clouds.
Download/Install
Import Dataset
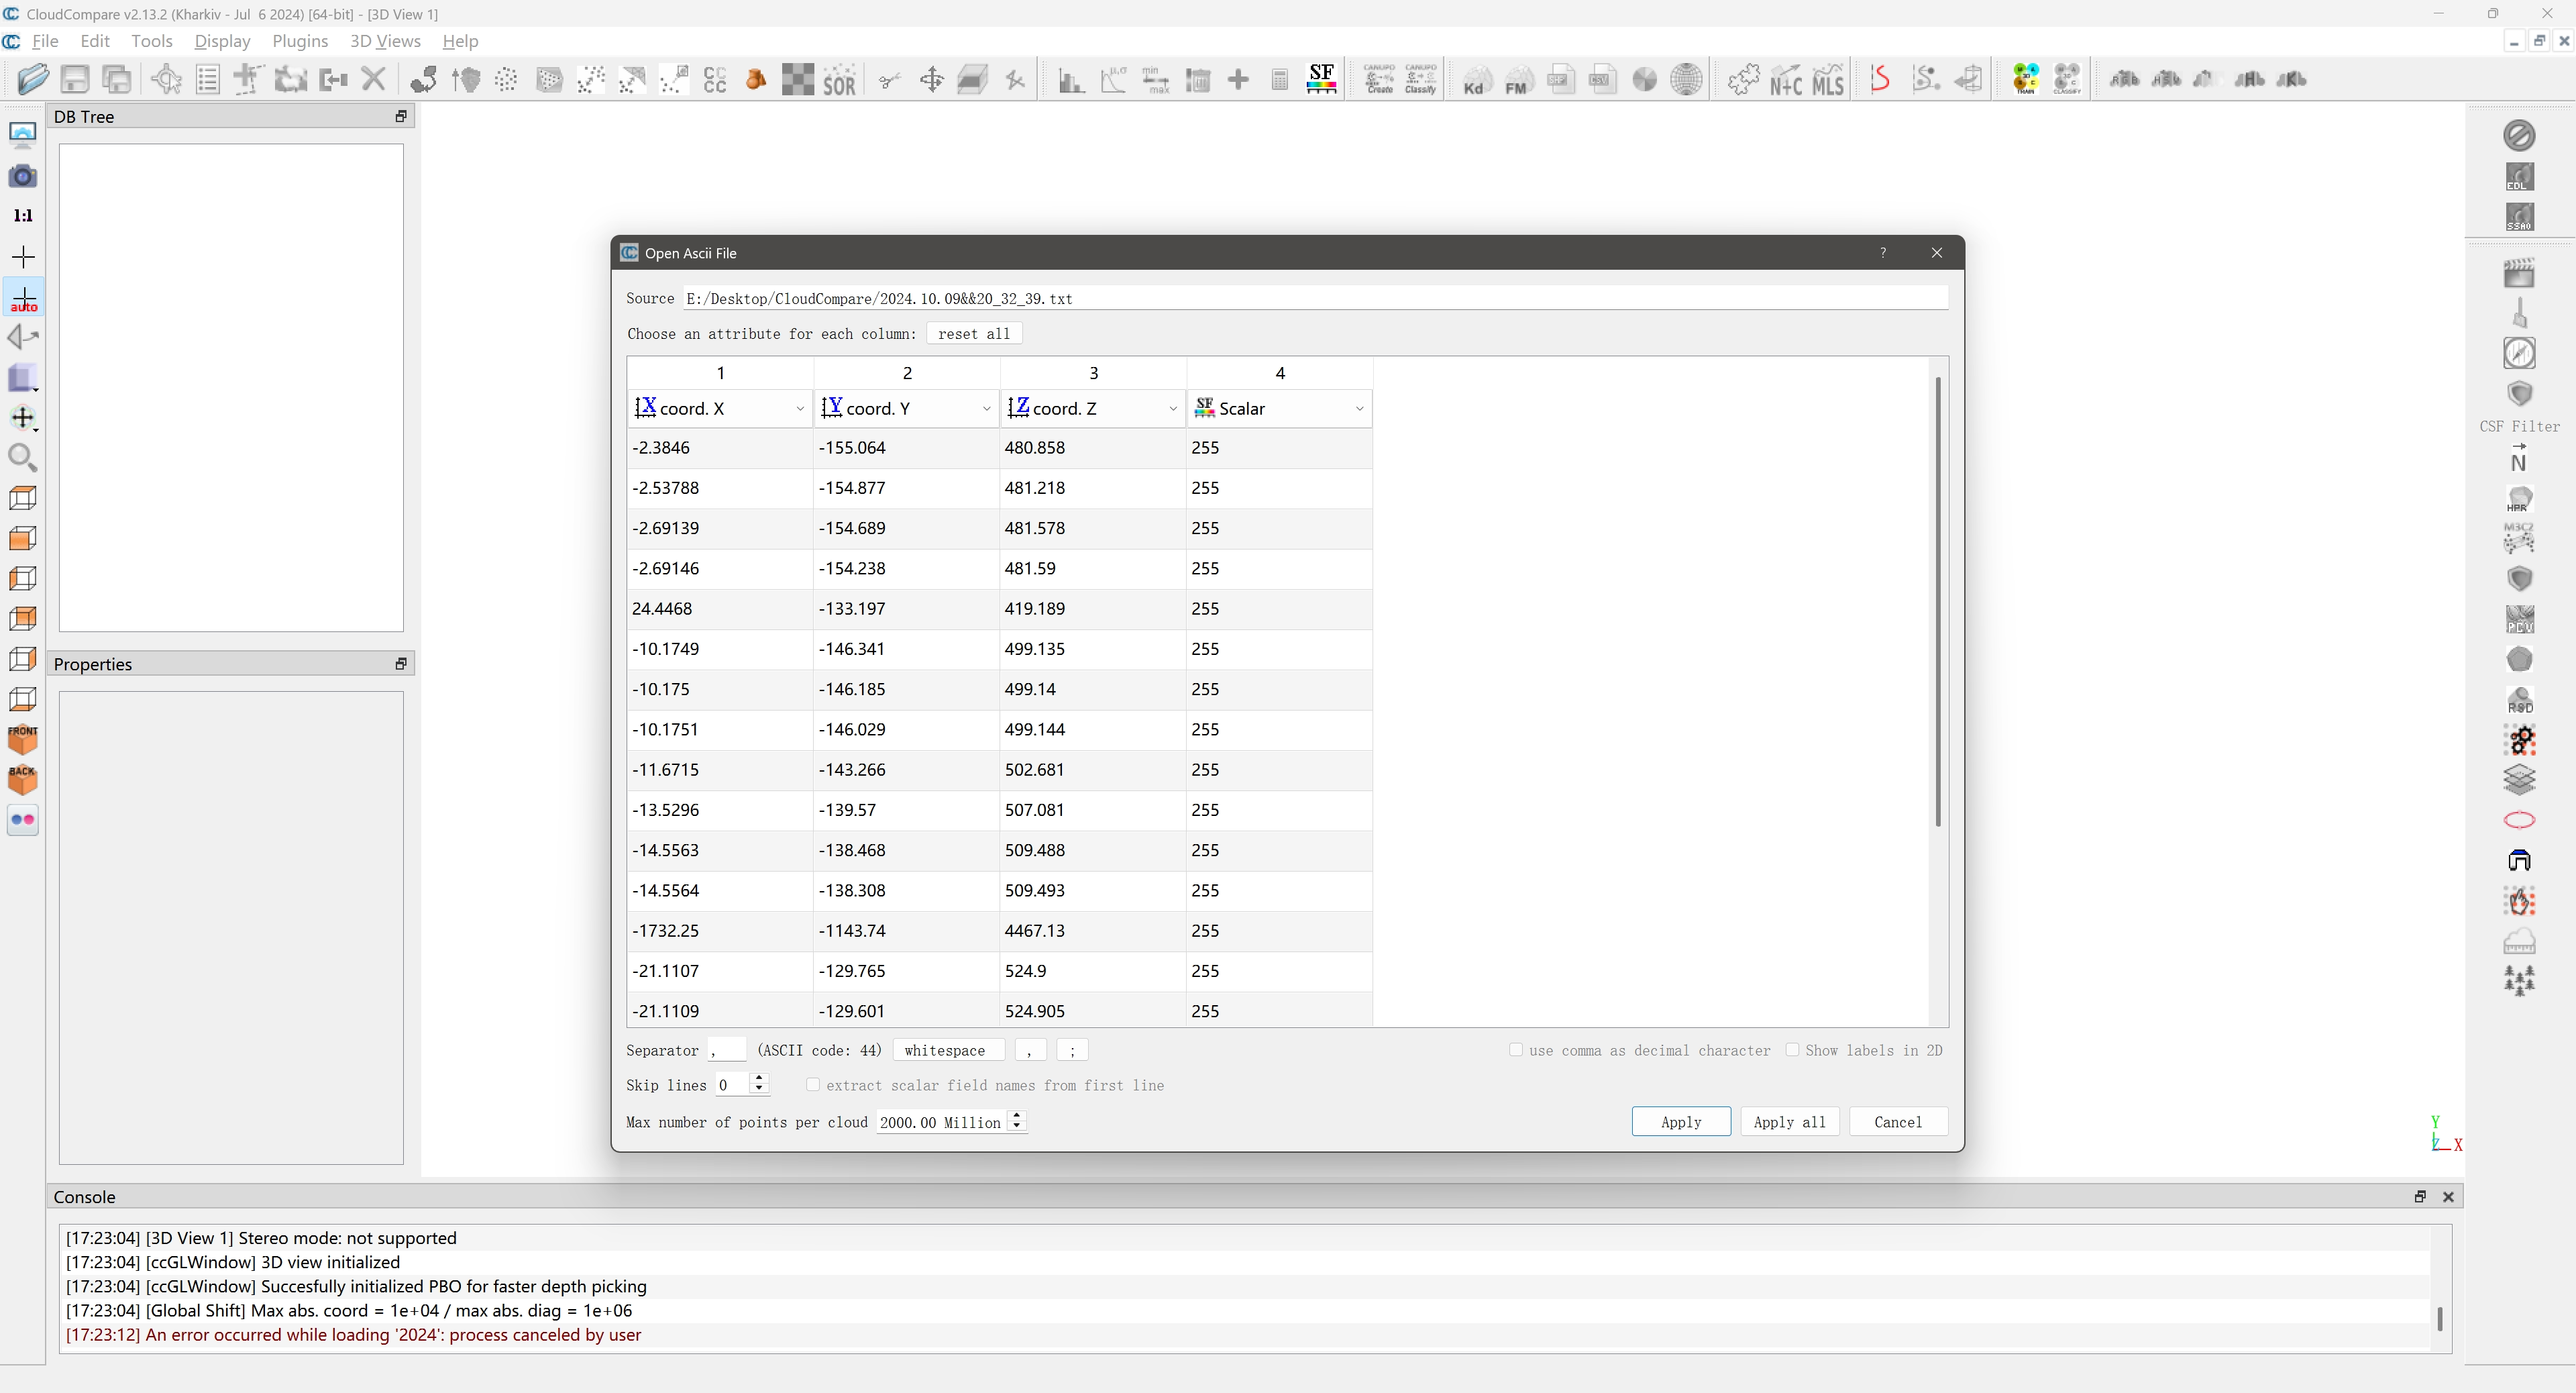
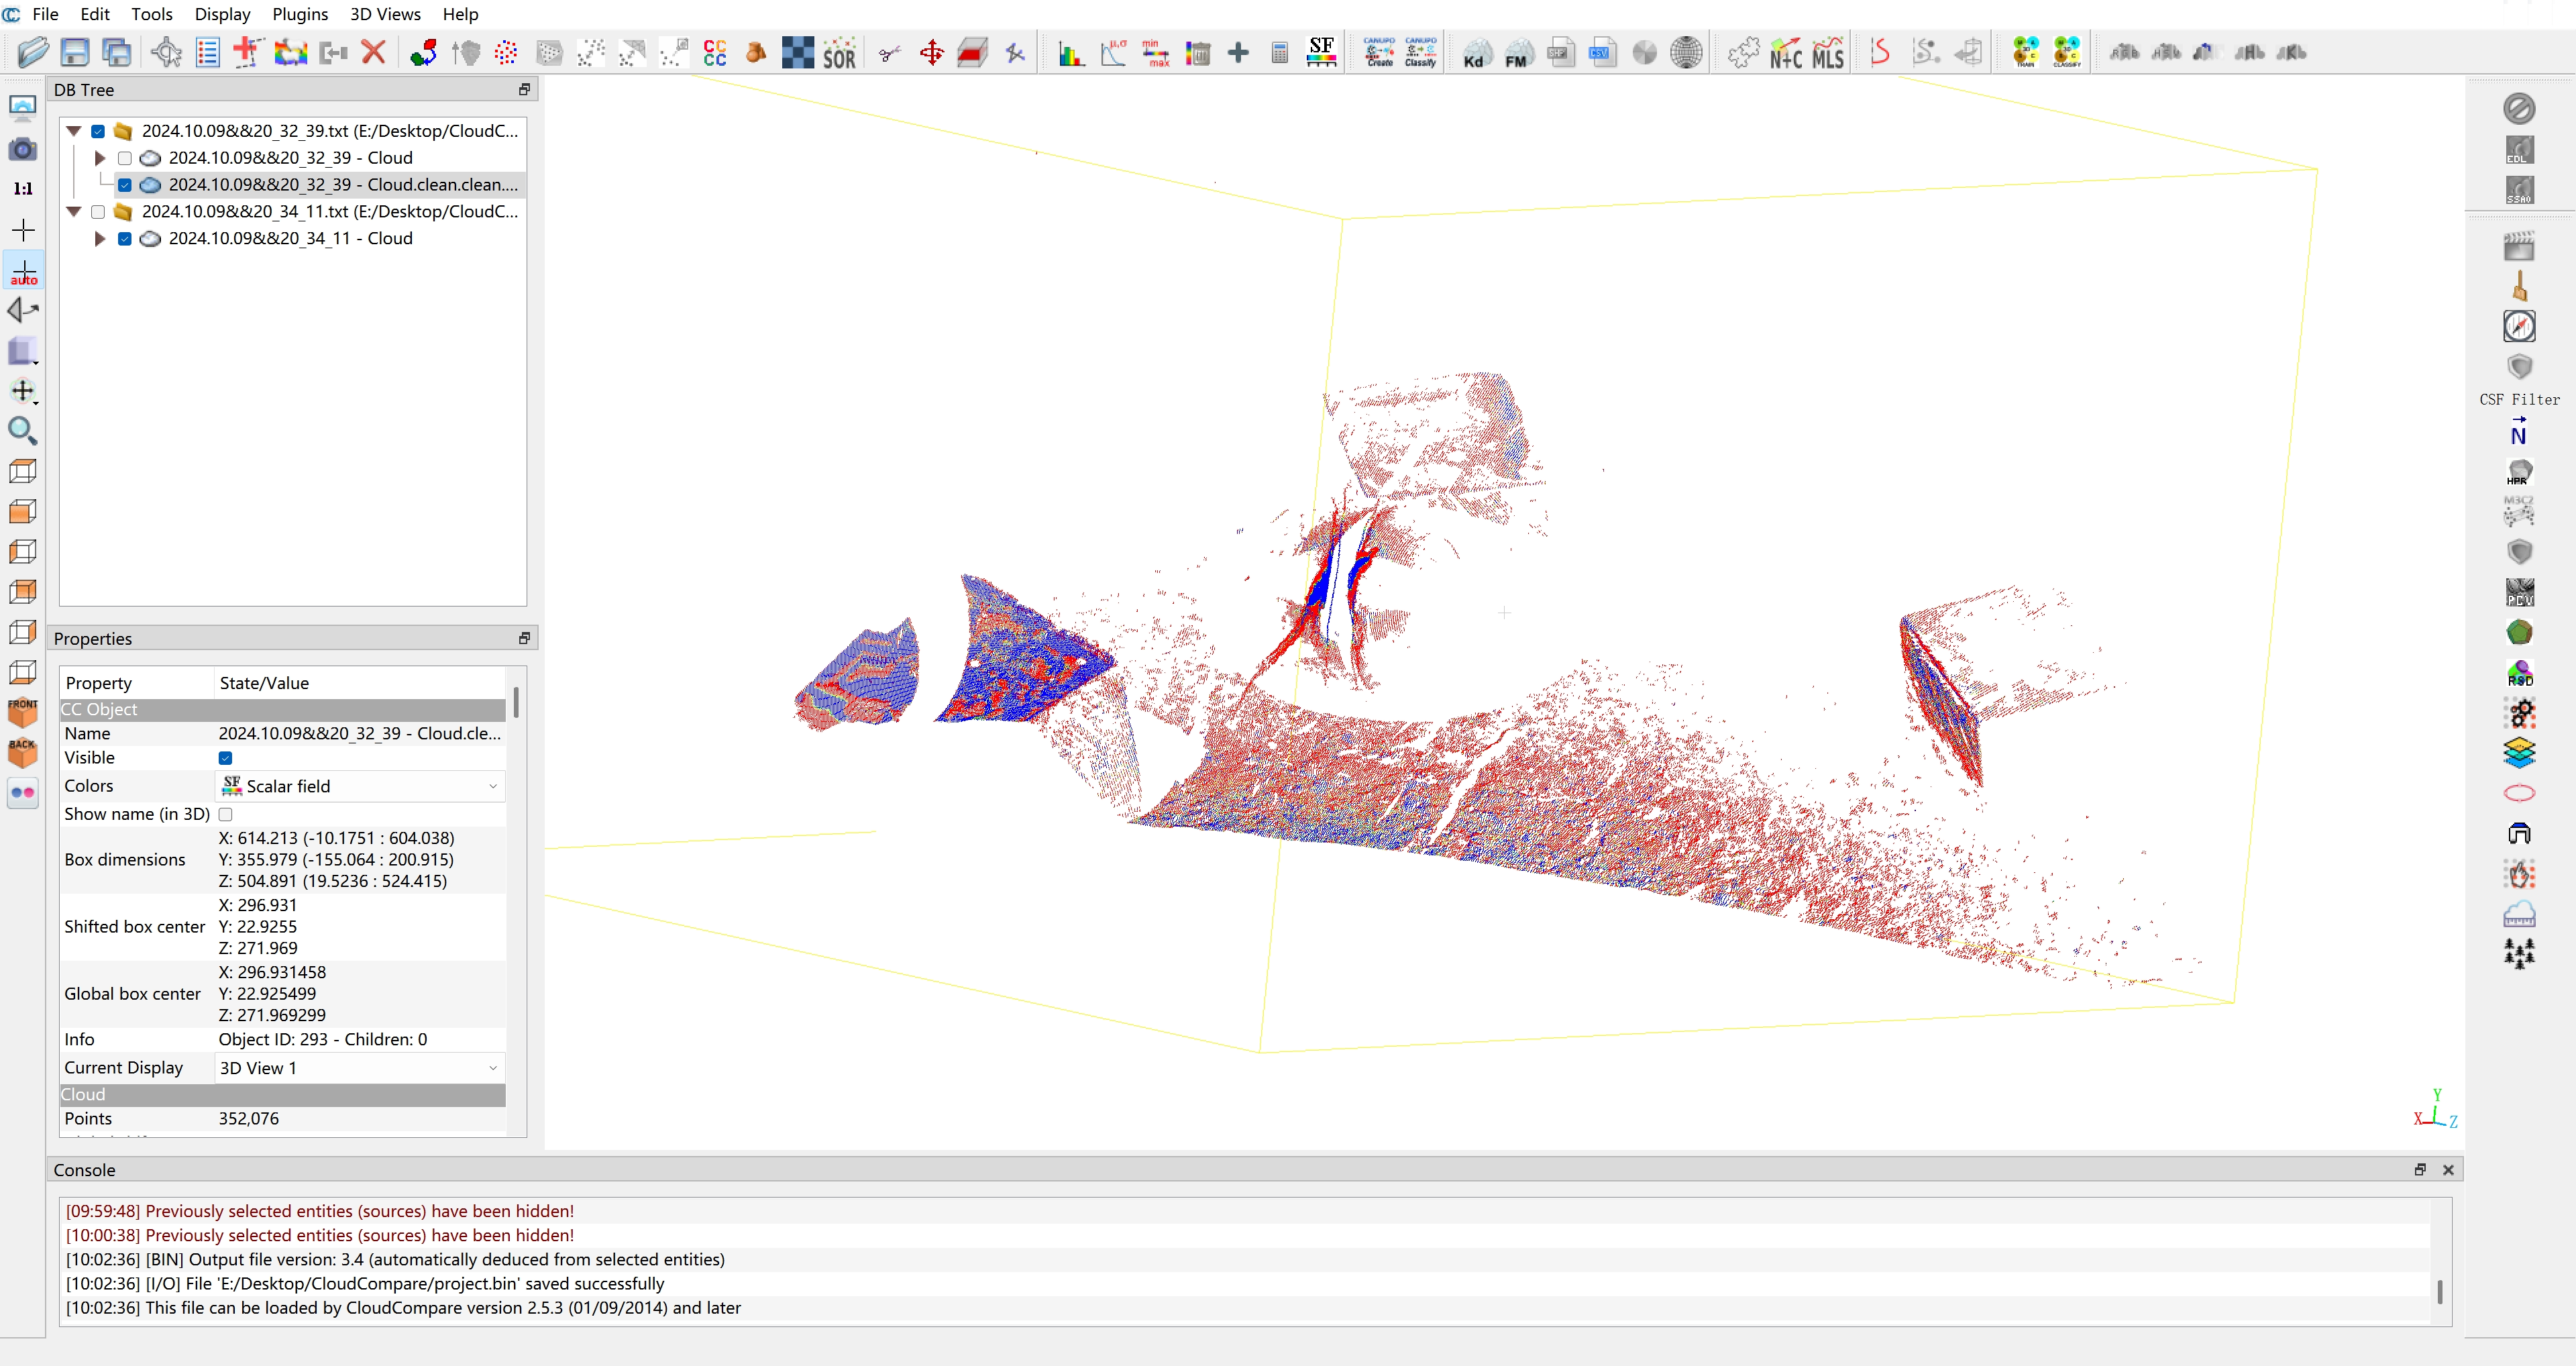
Once the point cloud import is complete, it appears as shown below. Here, we imported two sets of point cloud data for the same target to facilitate subsequent registration. After importing, the relevant point cloud will be displayed in the top left corner of the software, where you can select whether to display it. The center of the software will present the corresponding visualization information.
View Dataset
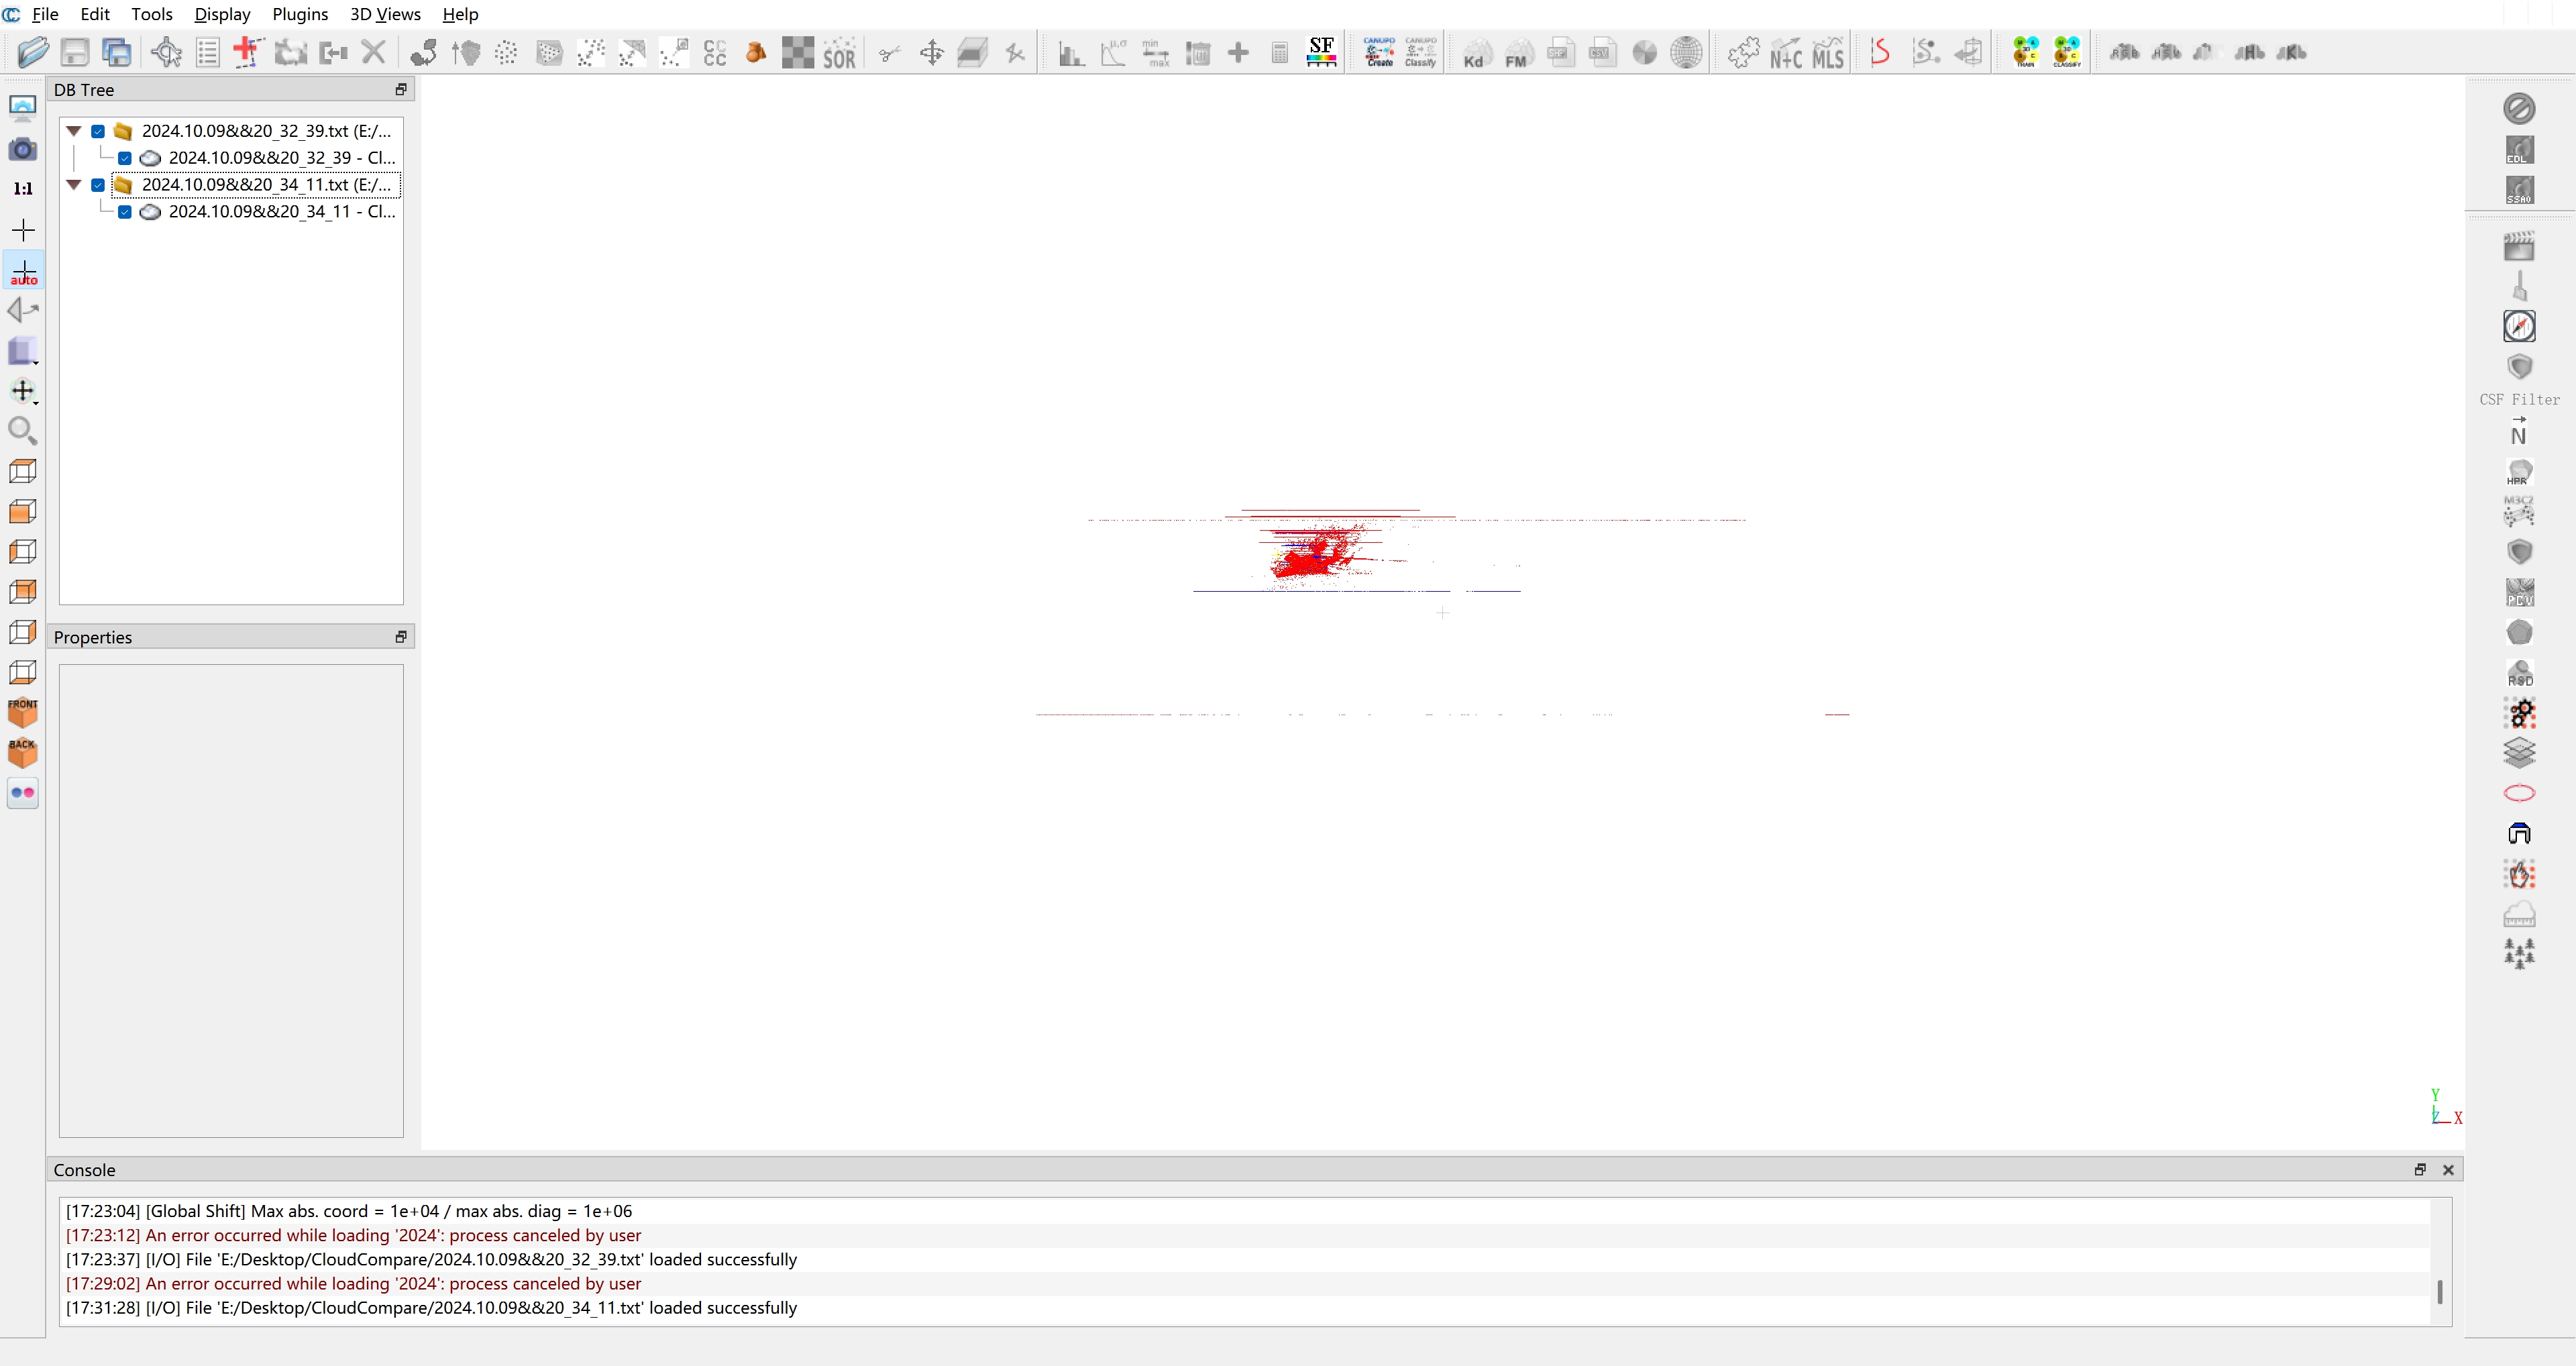
You can use the mouse to rotate, zoom, and pan the entire point cloud. You'll notice there's some positional deviation between the two sets of point cloud data, as well as considerable noise. Therefore, the next steps will involve denoising and manual reduction.
Denoising Process
In the upper right corner, select the point cloud data that requires denoising. Click on
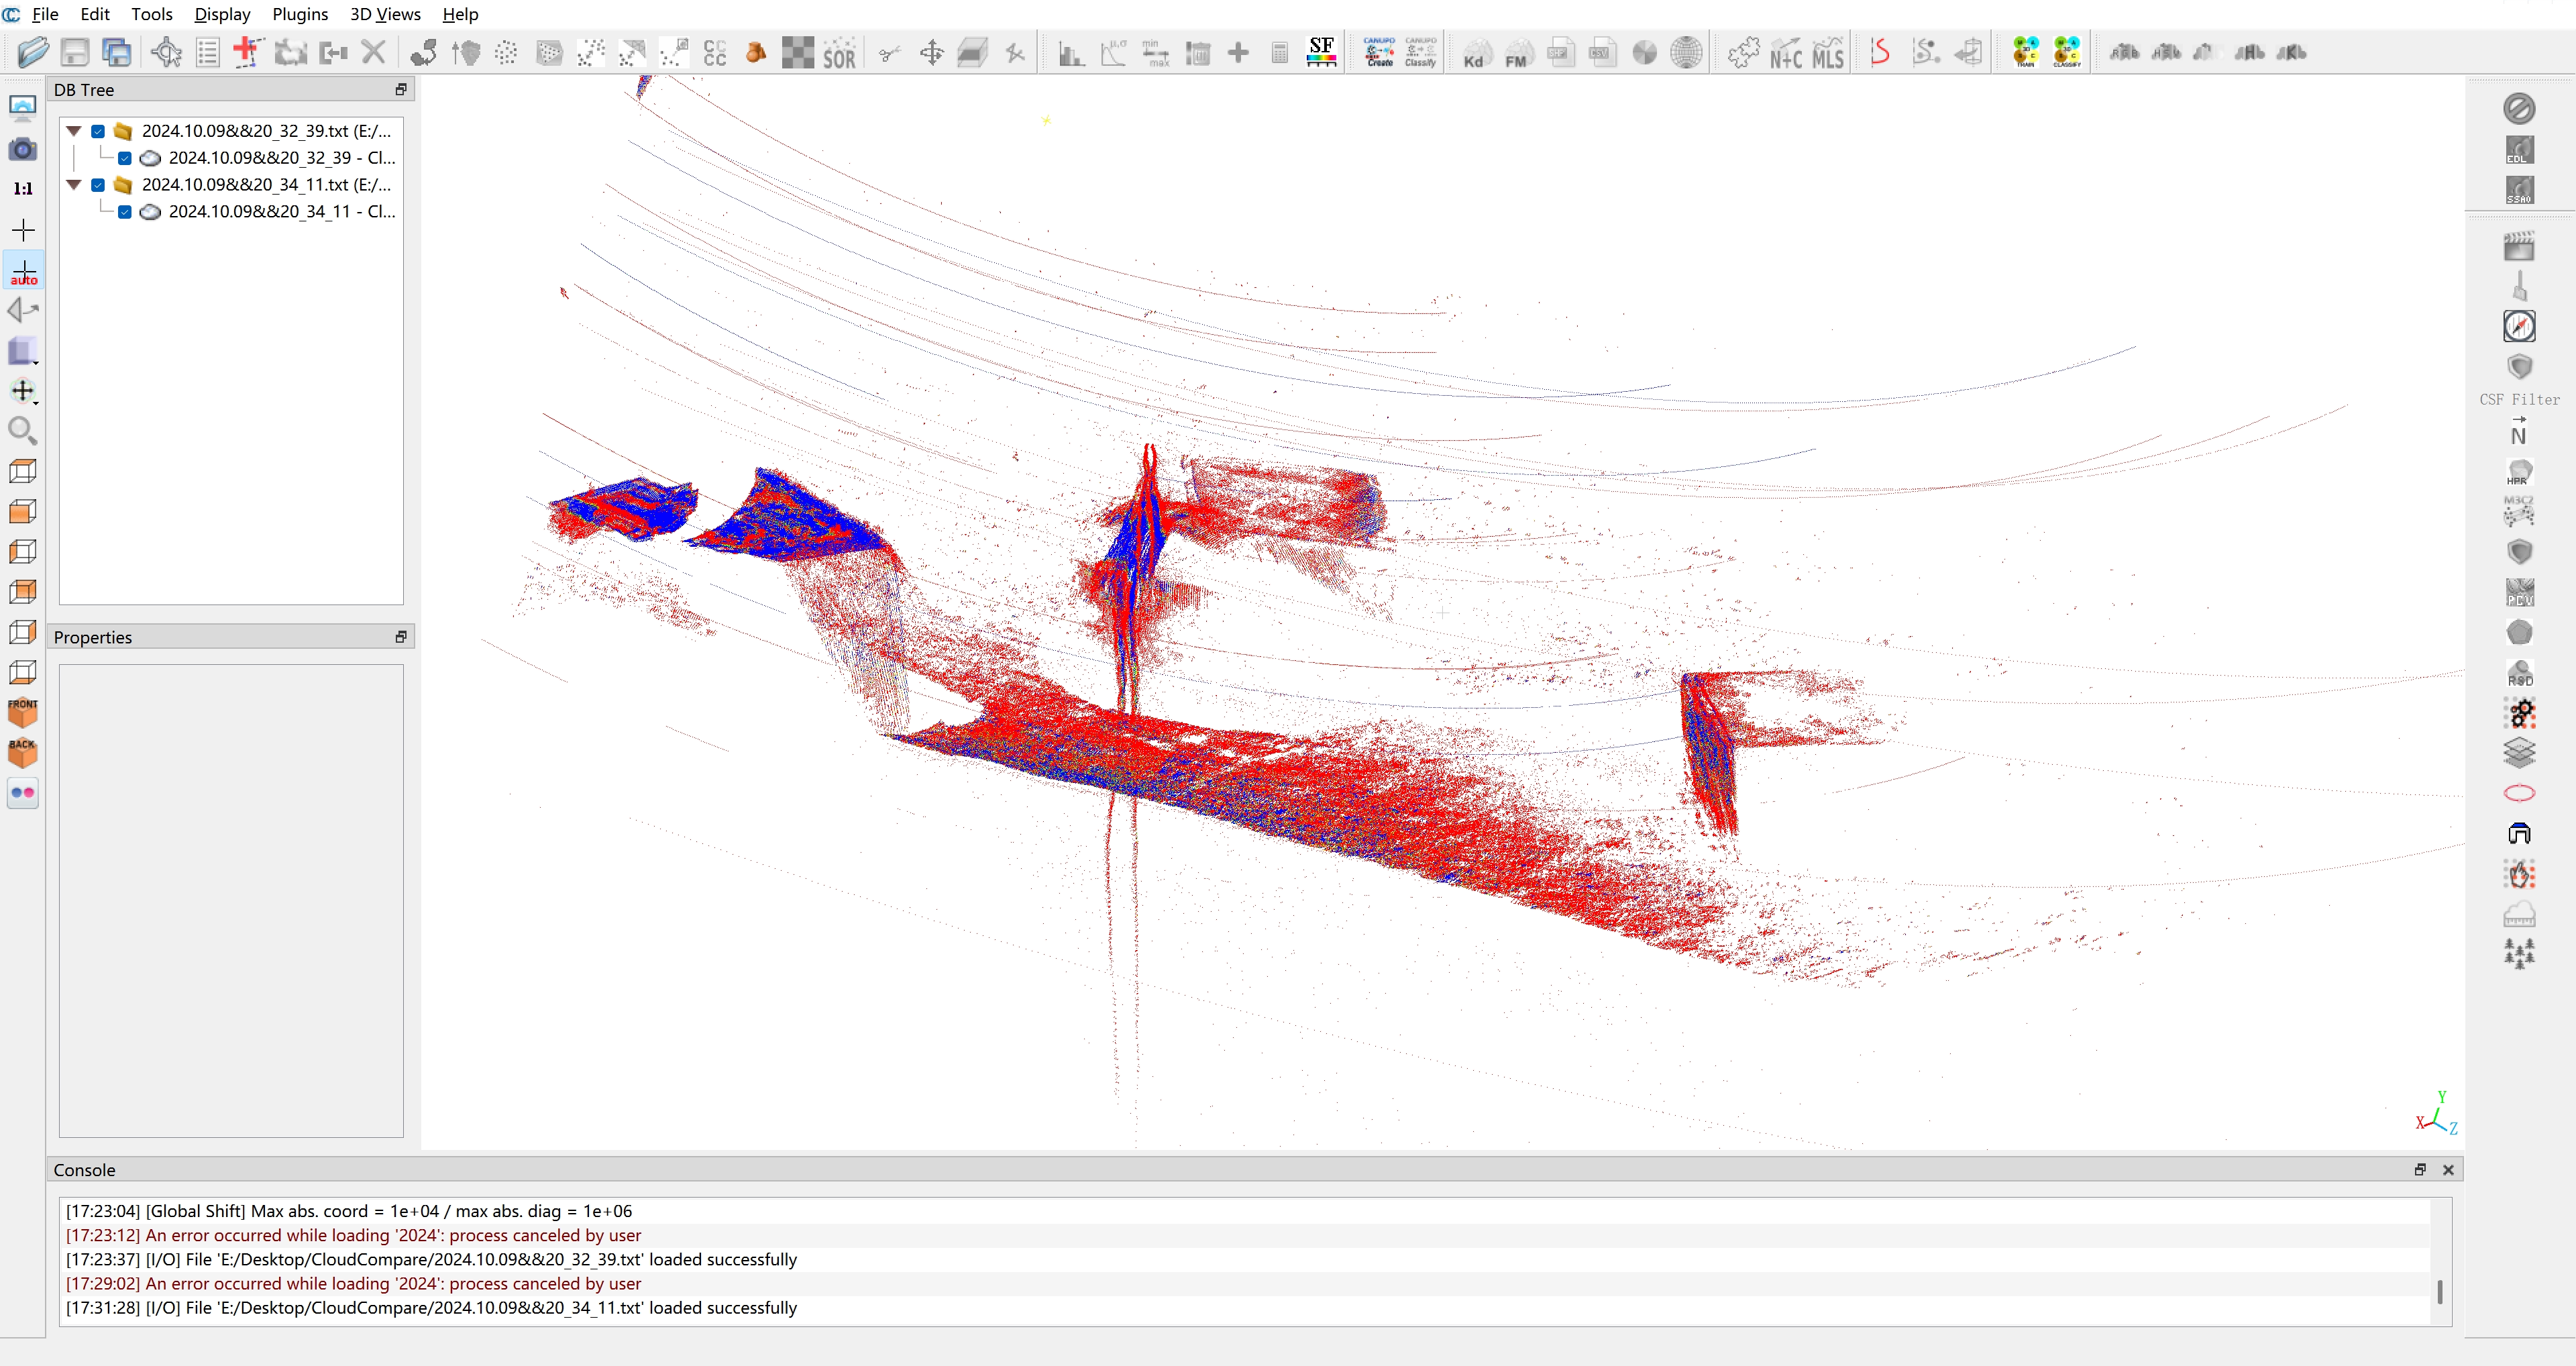
Tools -> Clean -> SOR filterin the menu bar, and adjust the parameters as needed, though typically the default settings suffice. After denoising twice, you will notice that the line noise has been entirely removed from the point cloud data. However, some minor noise remains, so manual reduction will be used next.
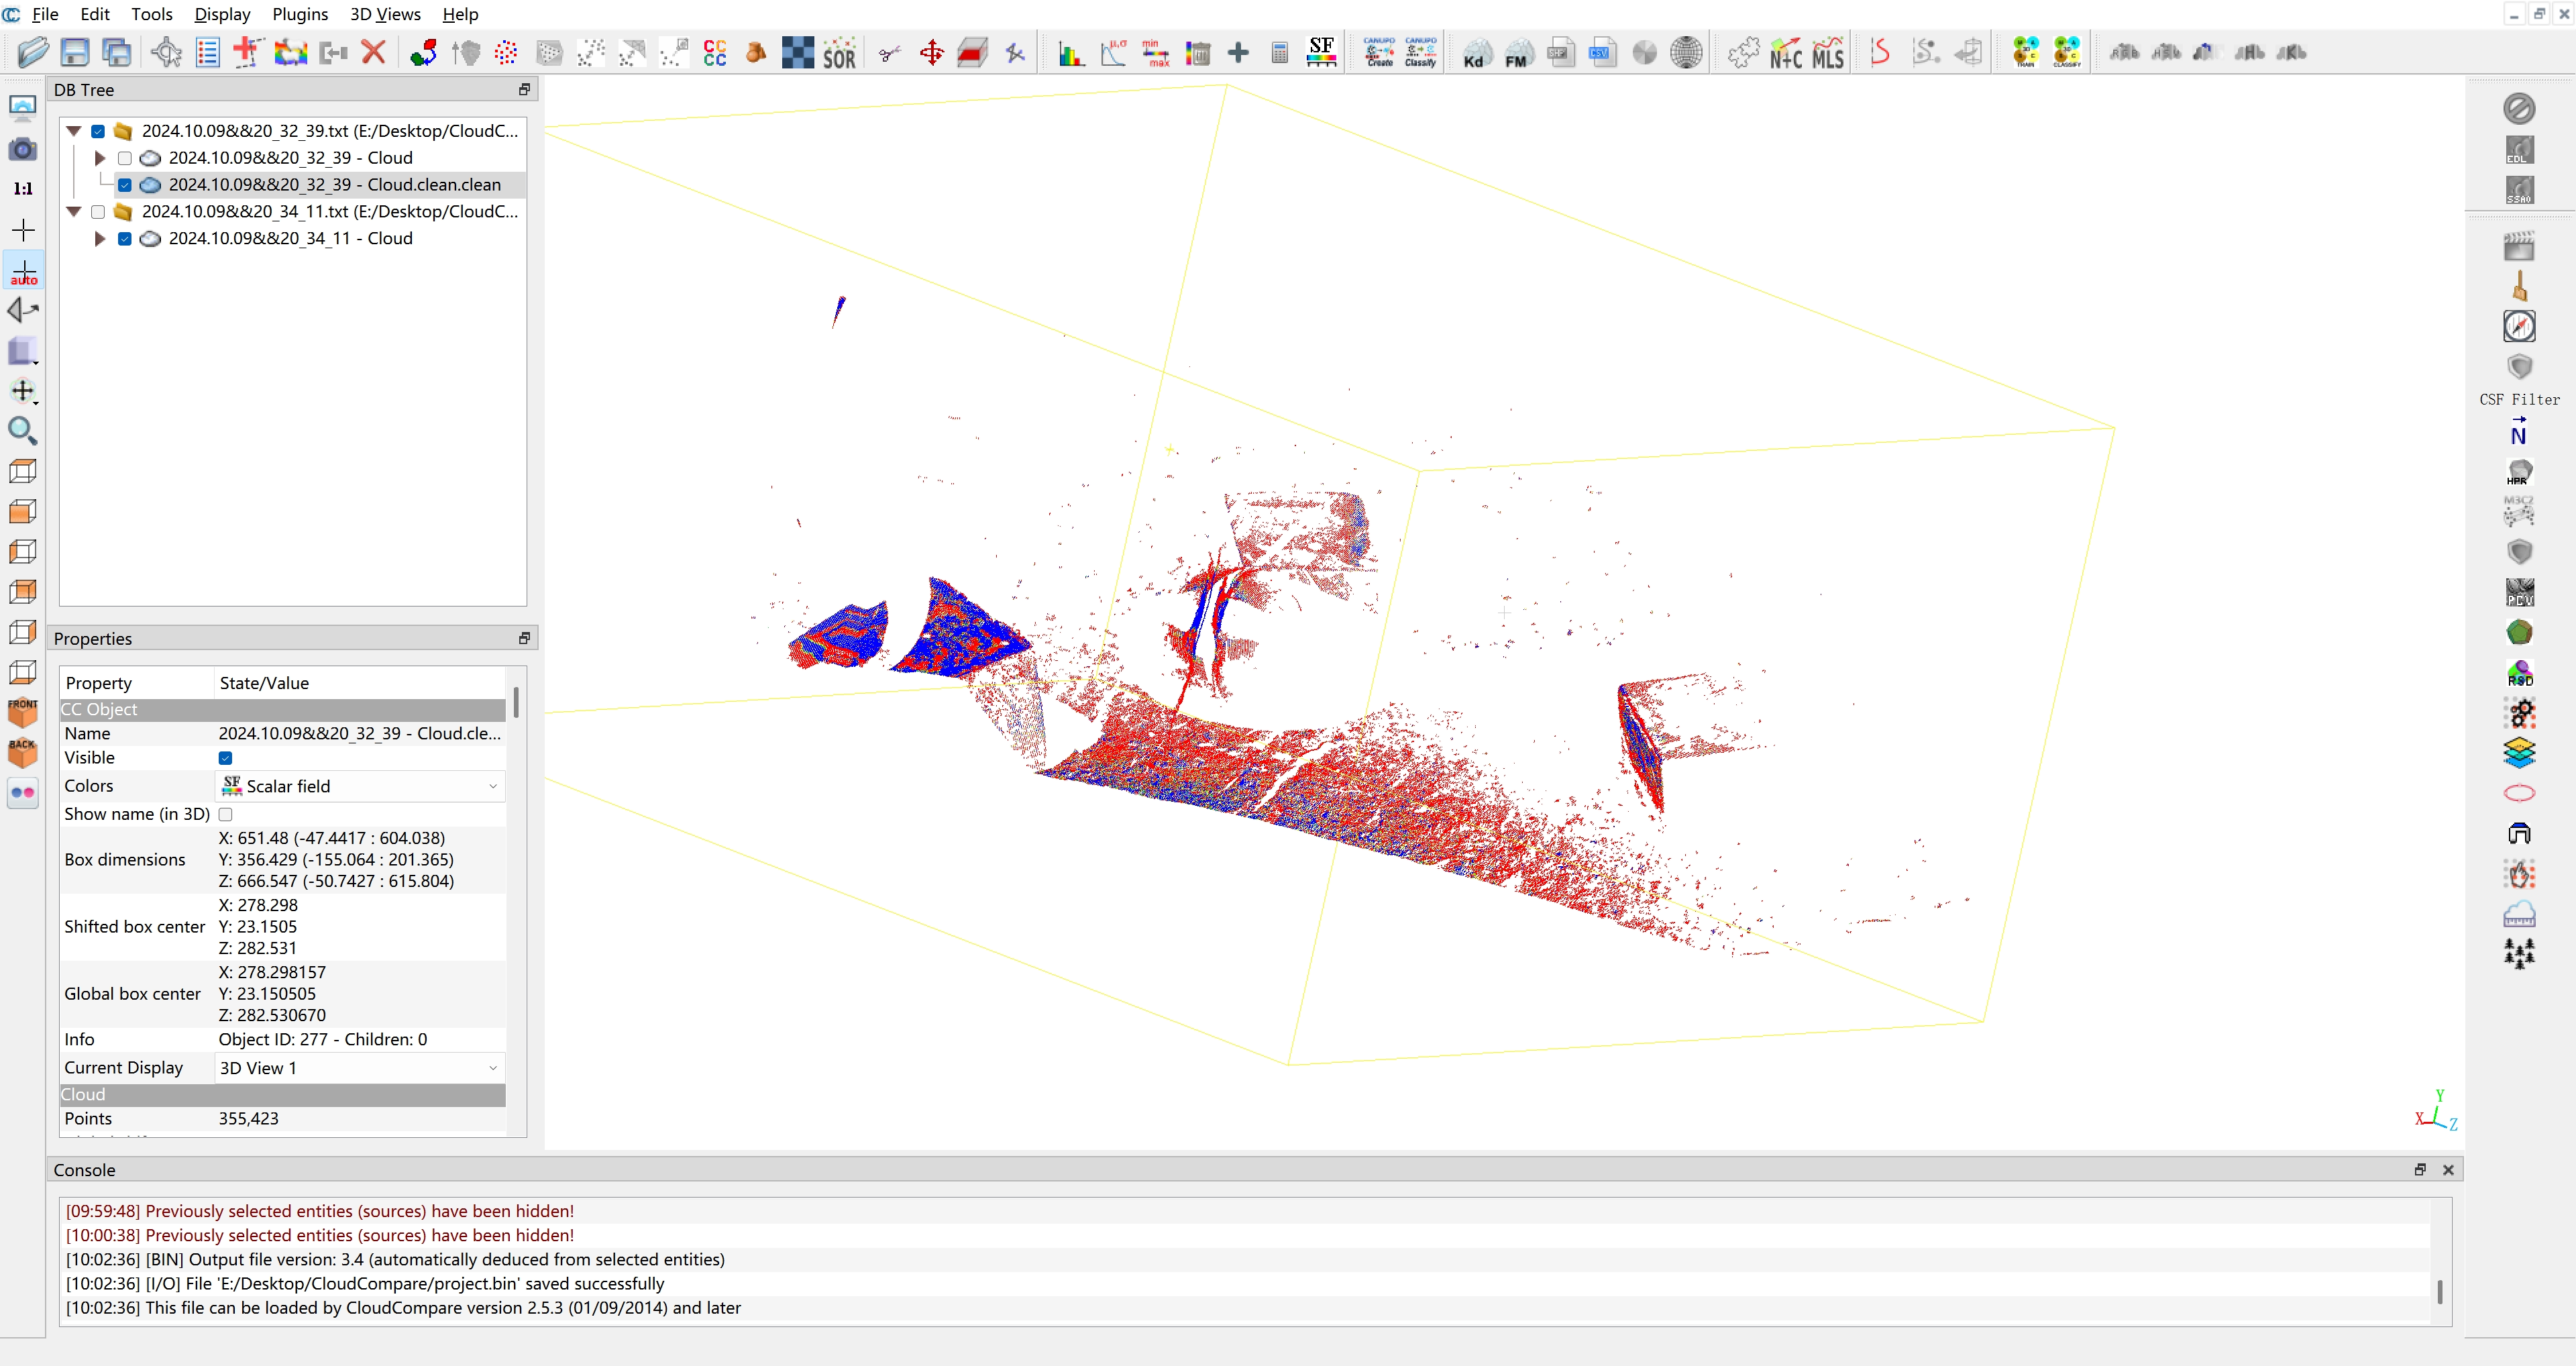
In the upper right corner, select the point cloud data to be reduced. Click on
Edit -> Segment (shortcut T)in the menu bar to enter selection mode. Use the left mouse button to highlight the area for reduction, then right-click to confirm the selection. Press theshortcuts Oandshortcuts Delin sequence to complete the reduction of the point cloud data.
Warning
These operations must be performed on the selected corresponding point cloud data.
Tips
Hold alt and scroll the mouse wheel to adjust the size of the points in the point cloud.
Aligned Point Cloud
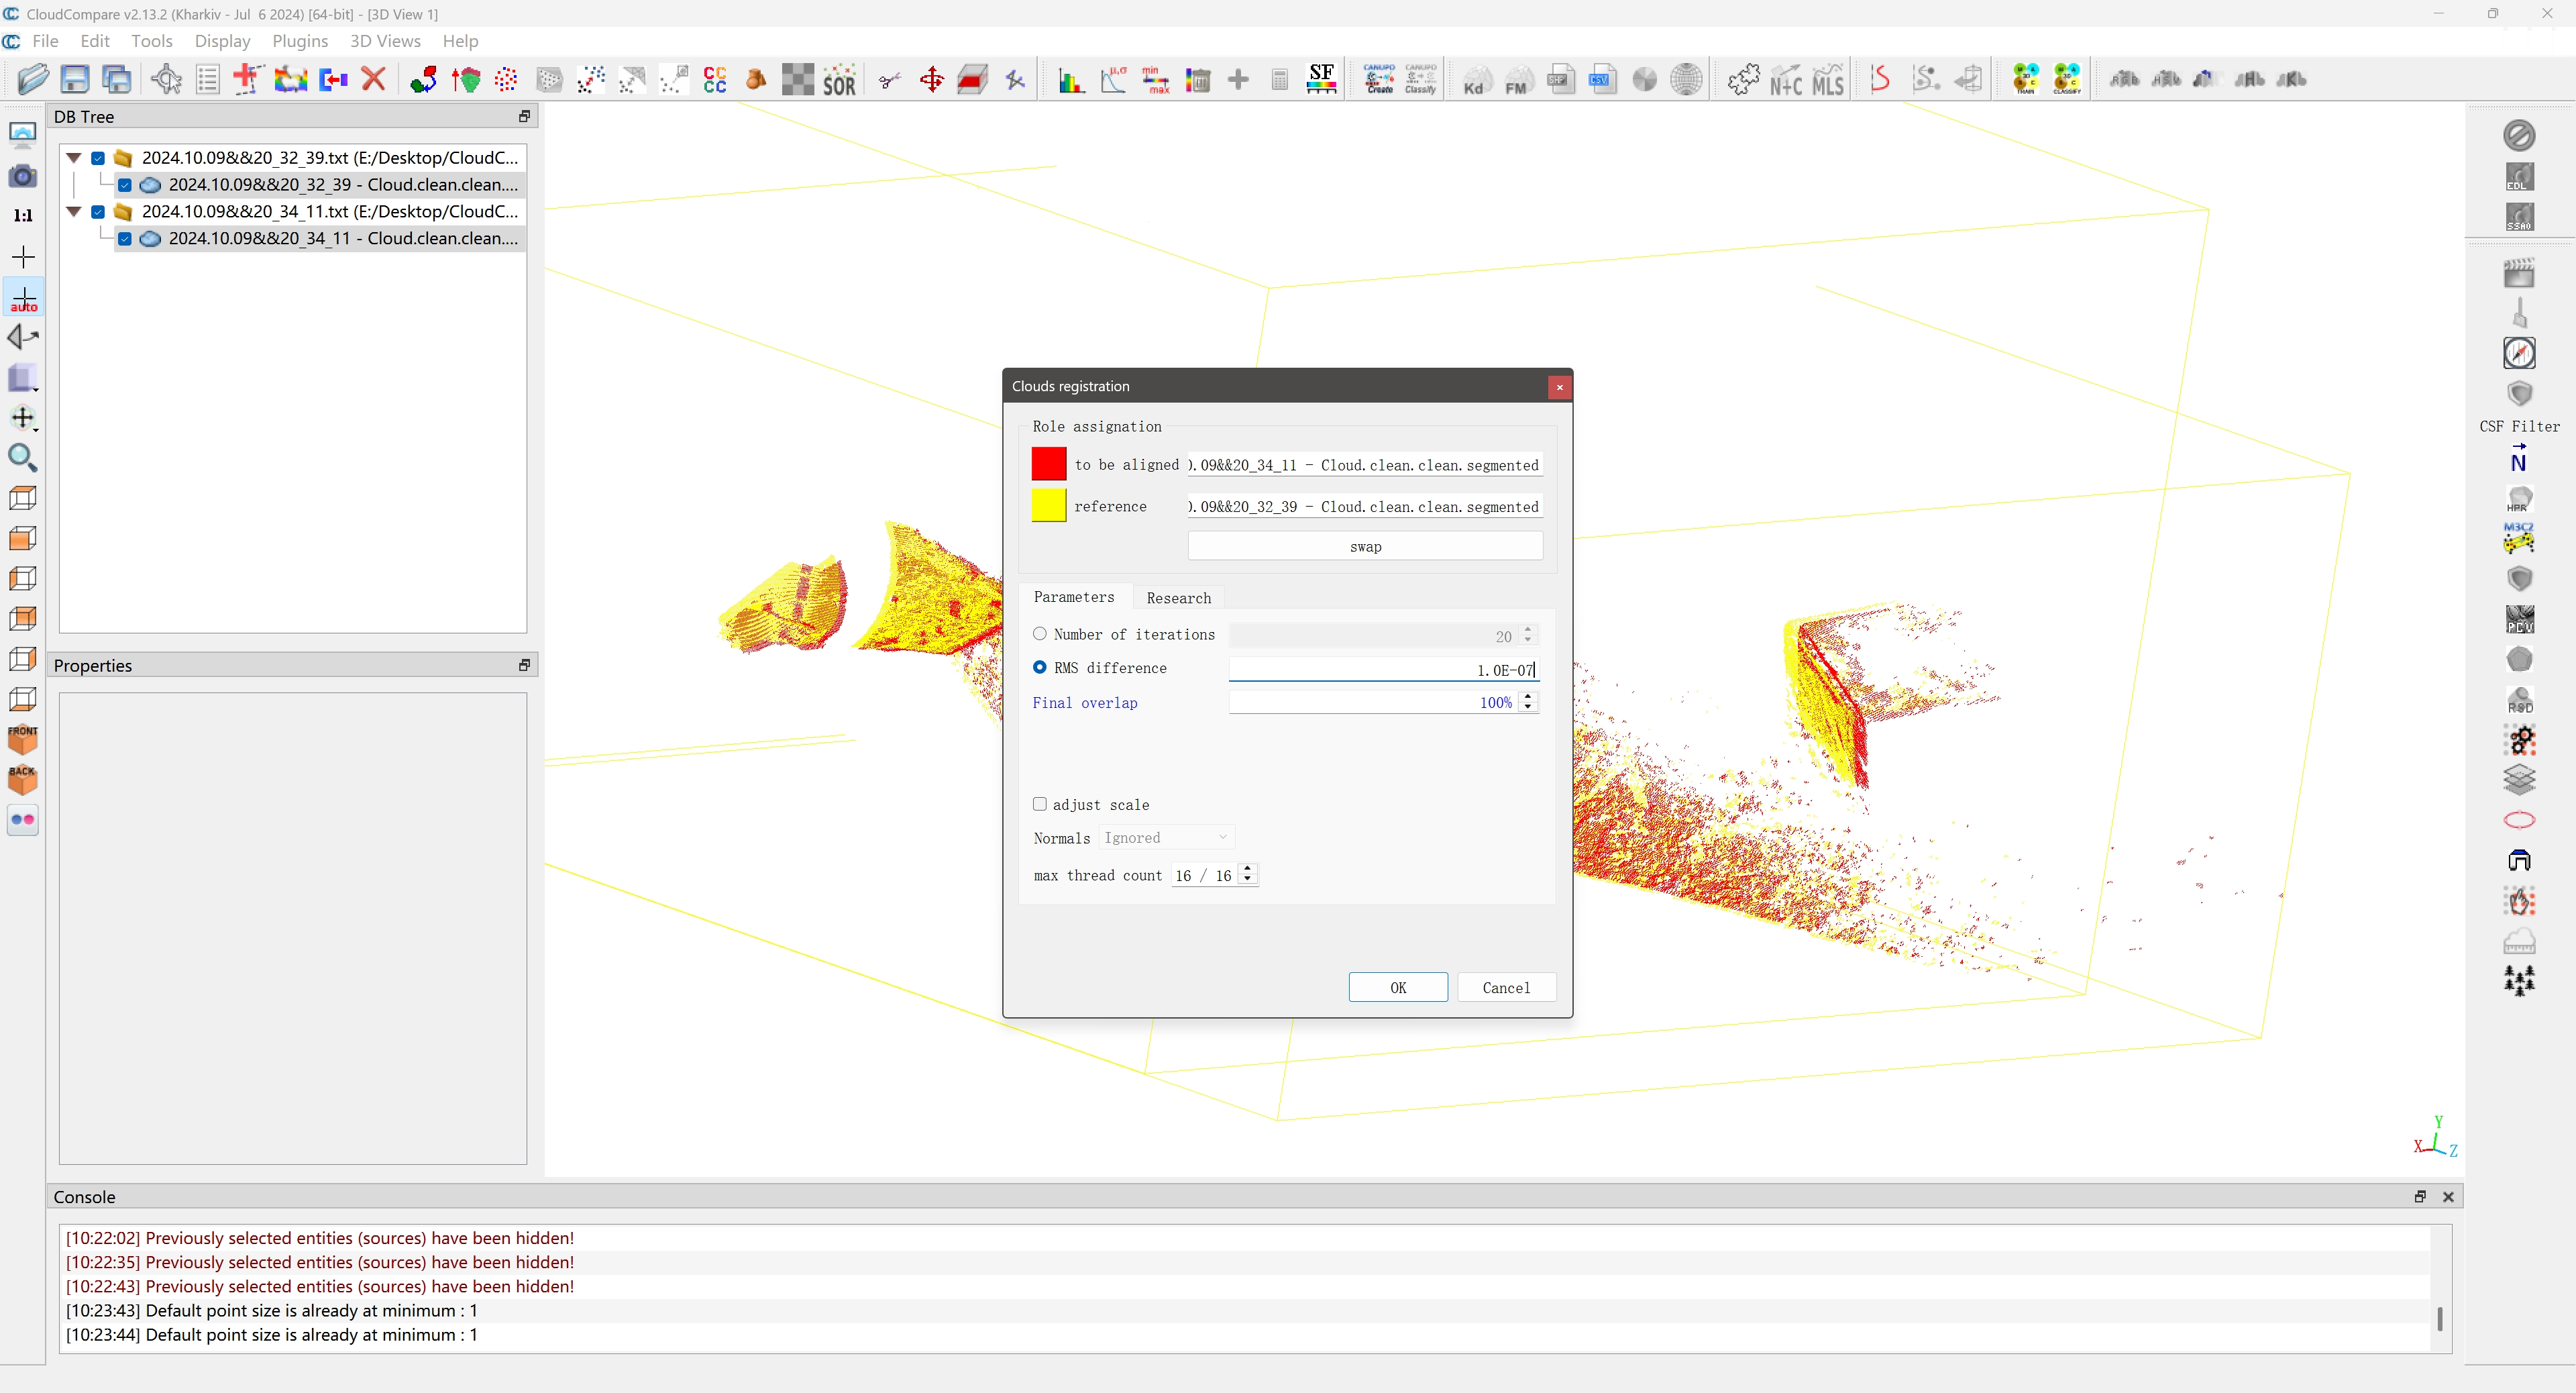
After denoising both point cloud datasets, select them simultaneously and click on Tools -> Registration -> Fine registration (ICP) in the menu bar to perform automatic registration.
Warning
The red point cloud (to be aligned) will be registered to the position of the yellow one (reference). When registering multiple point clouds, ensure you confirm which point cloud needs alignment.
Click OK to complete the automatic registration.
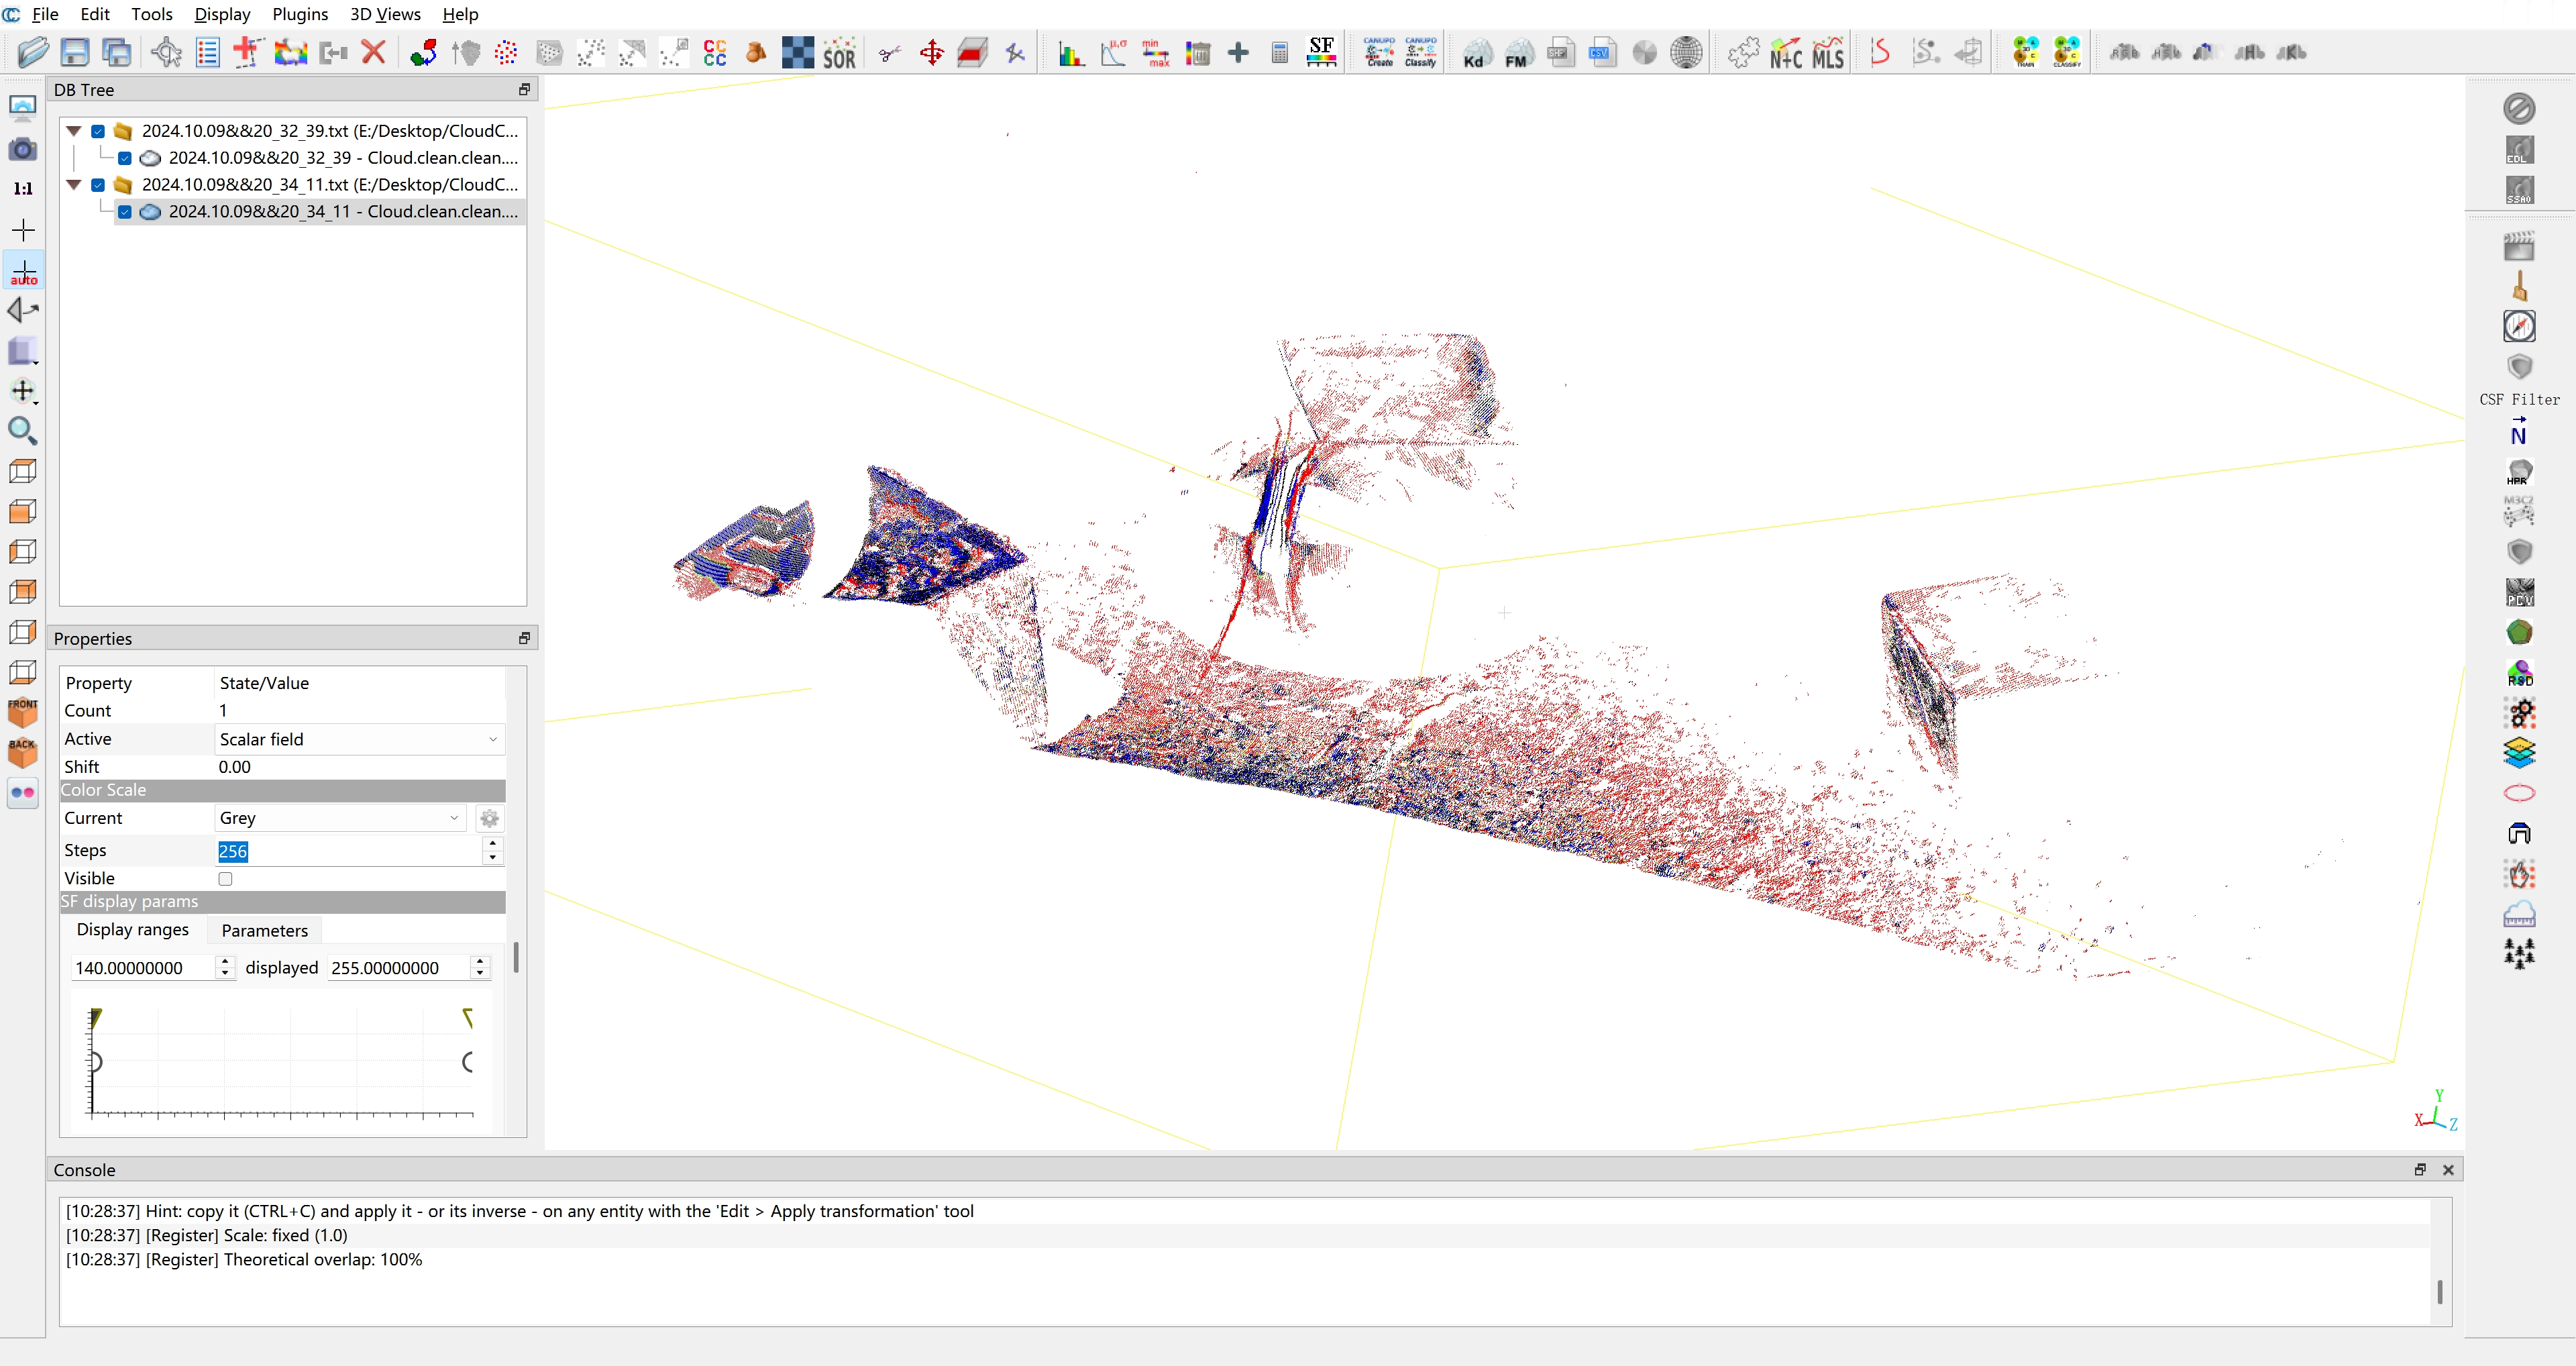
Additionally, the results of automatic registration may sometimes be unsatisfactory, necessitating manual alignment. Click on the menu Tools -> Registration -> Align (point pairs picking) and select the point cloud data that requires alignment, which corresponds to the red point cloud in automatic registration.
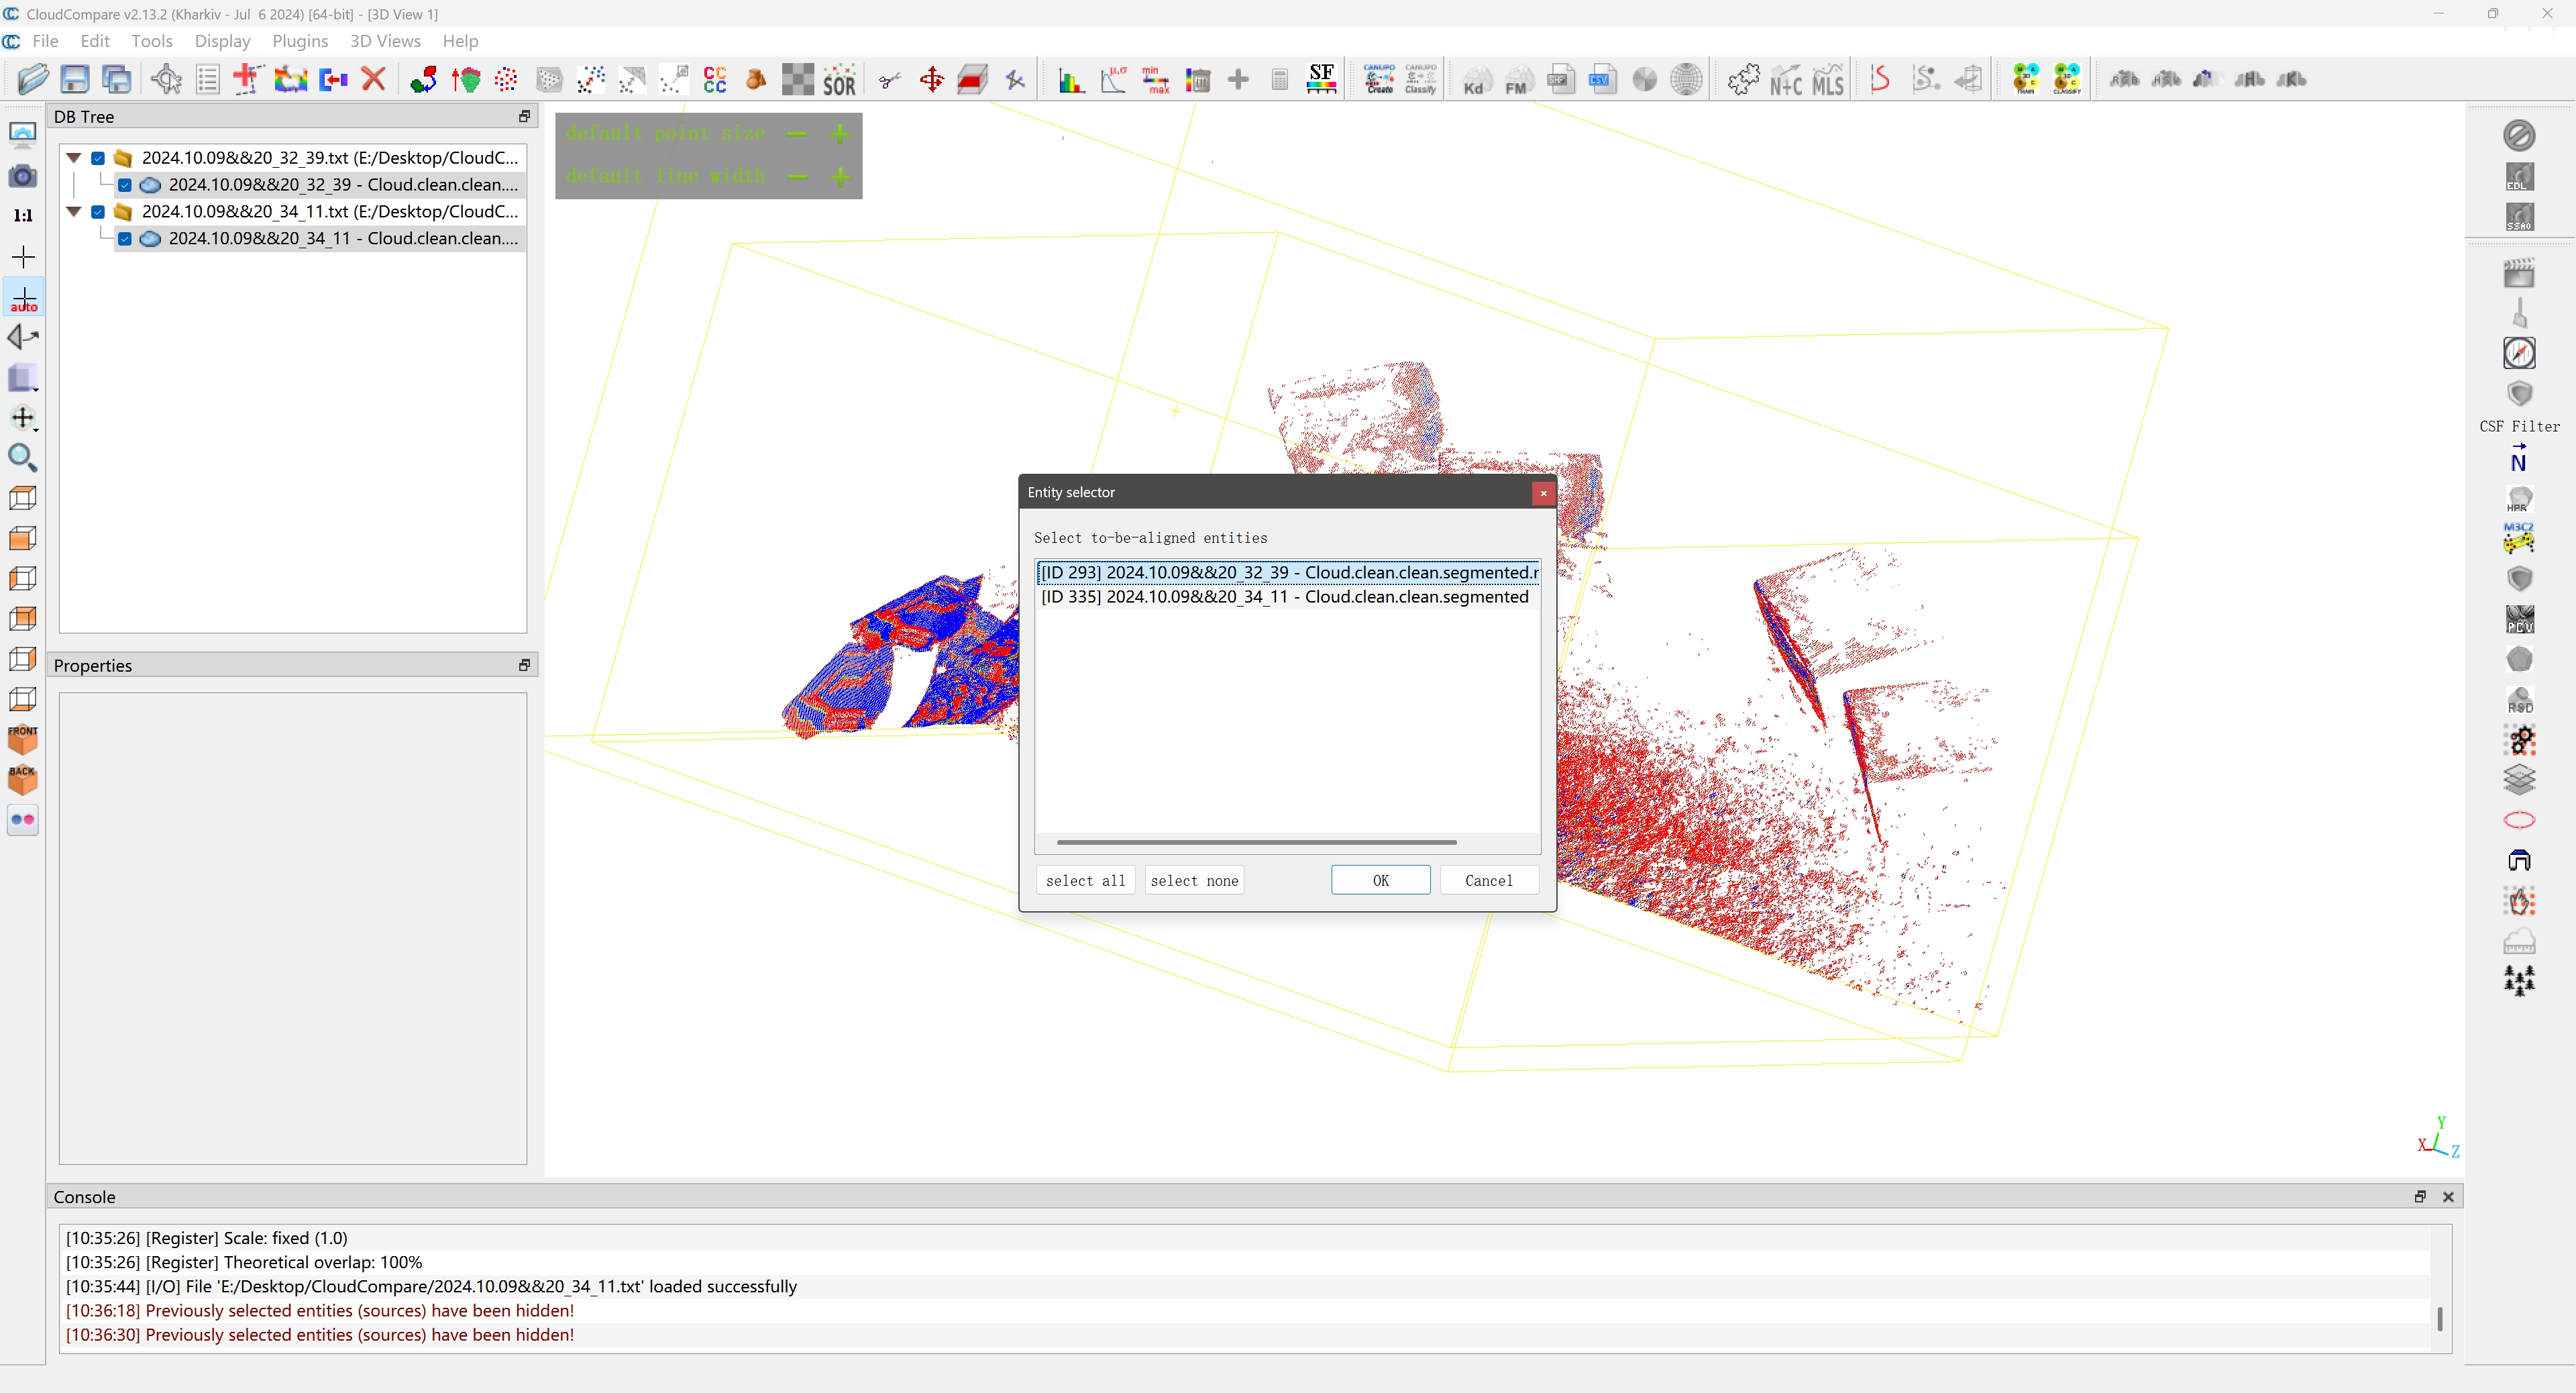
Manually select reference points (three or more) from the two point cloud datasets.
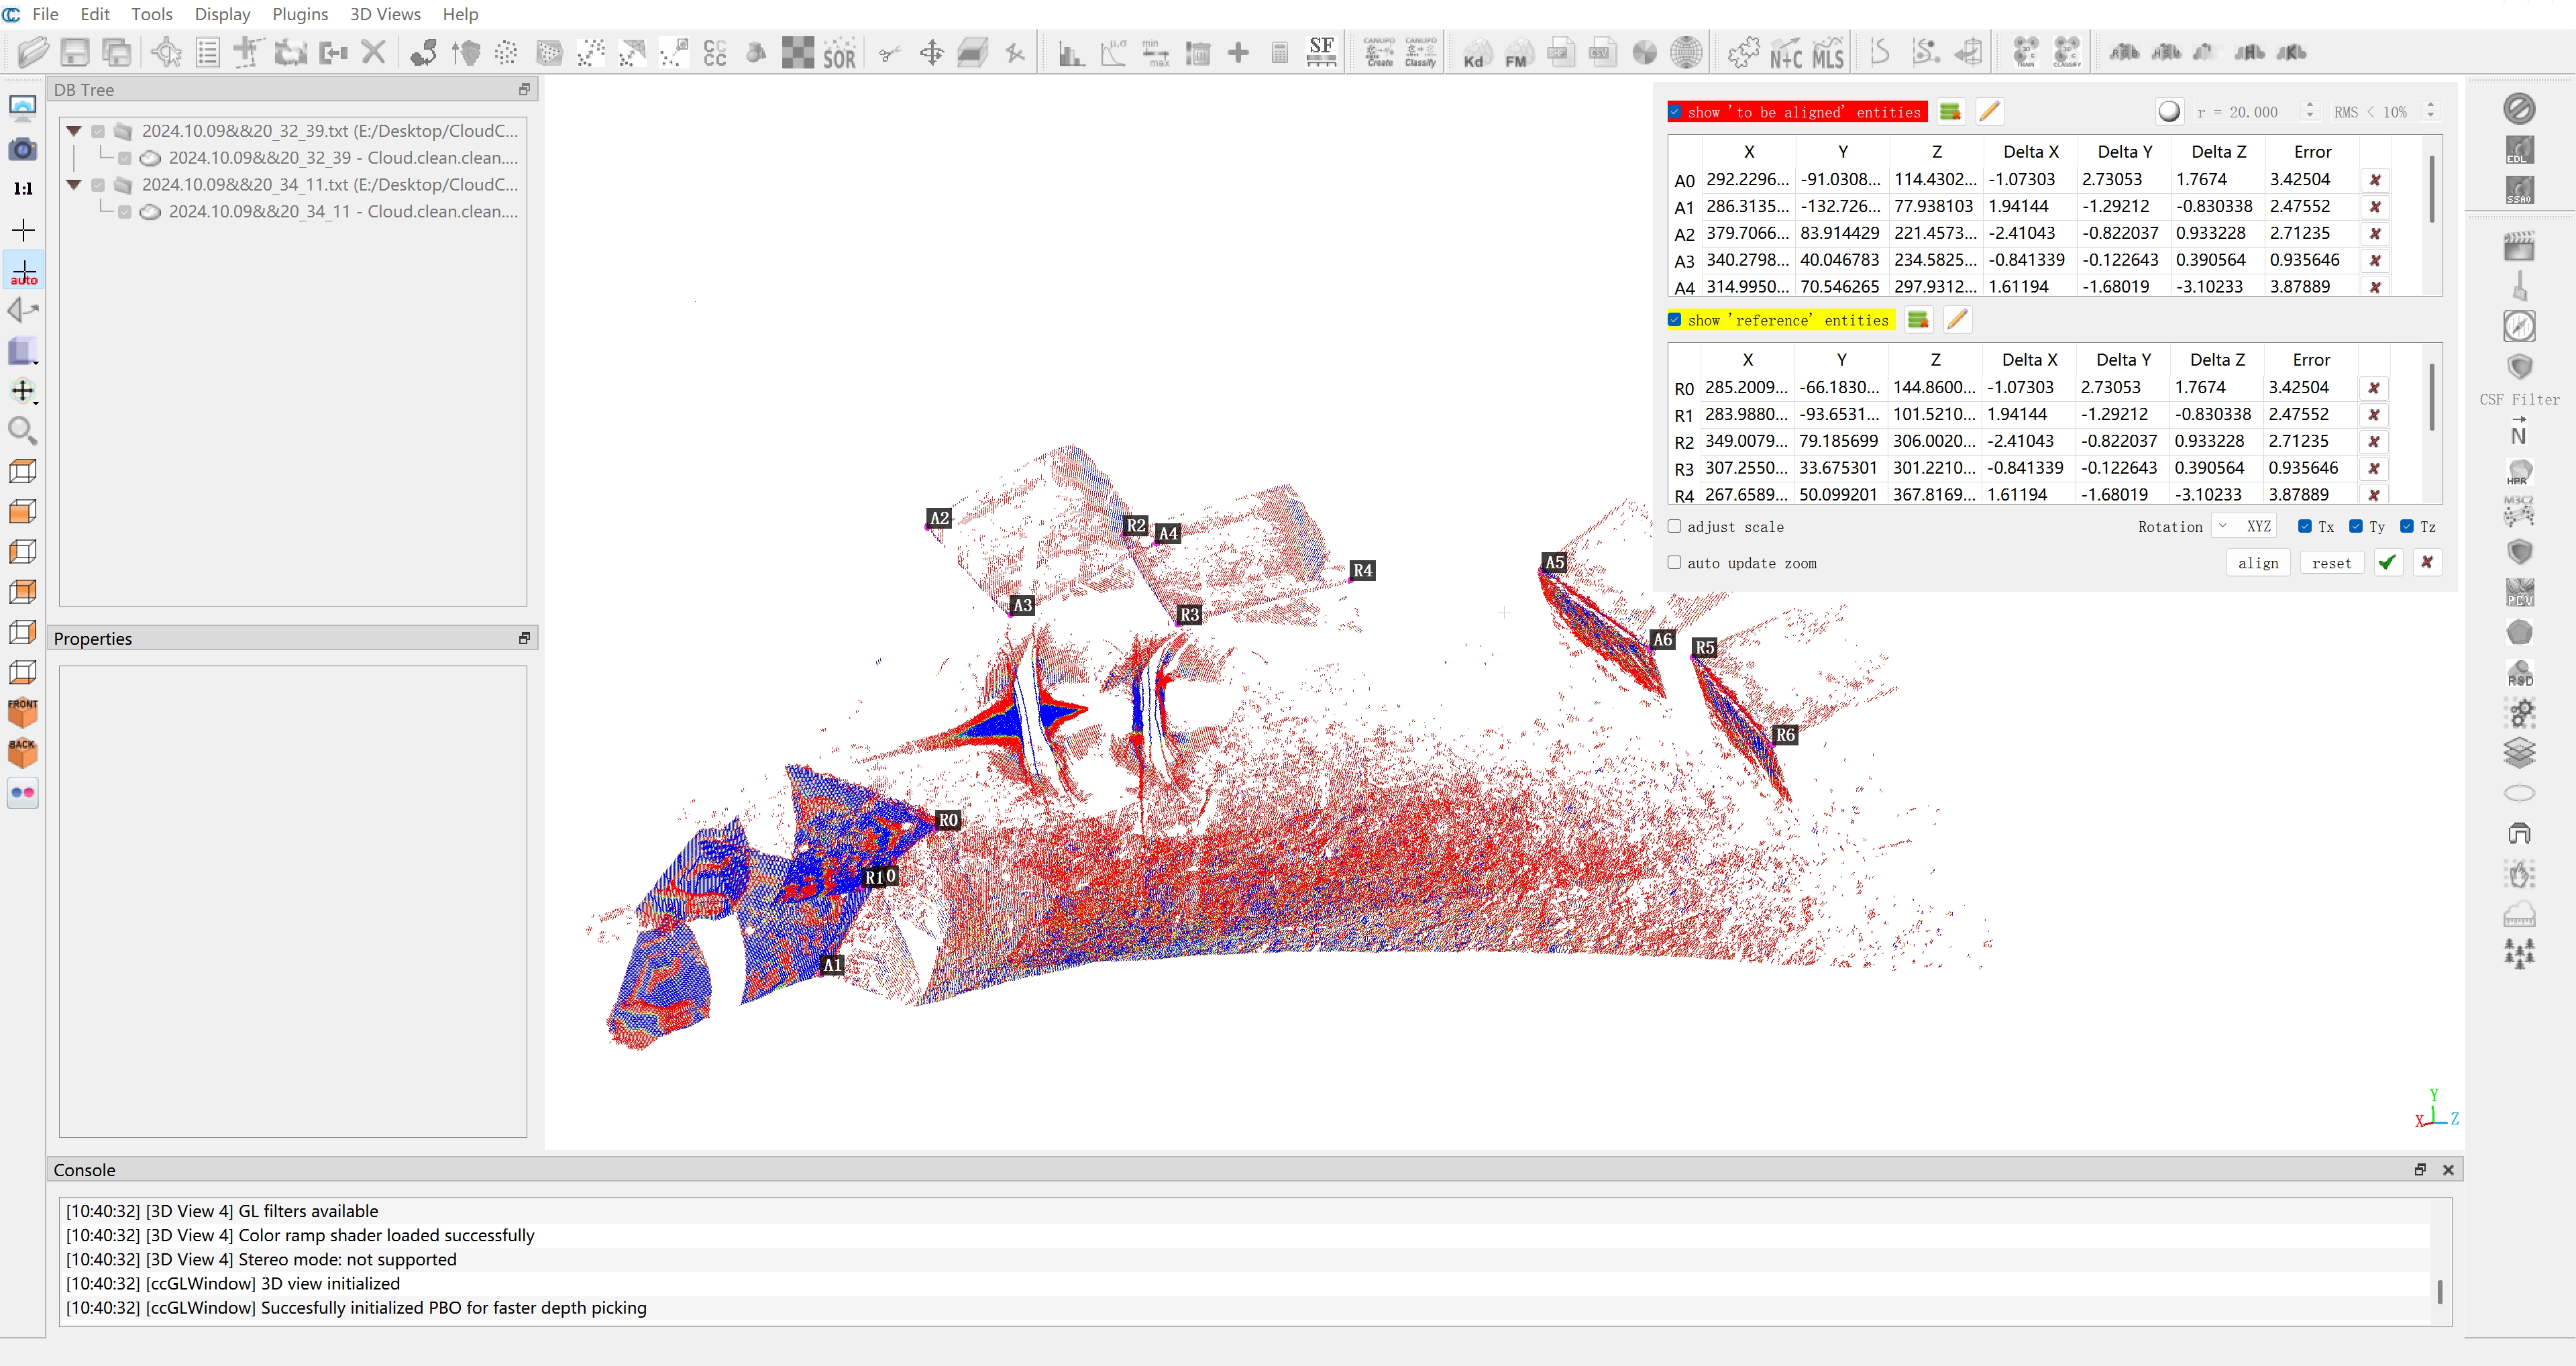
After making your selections, click the align button and the confirm button to complete the registration.
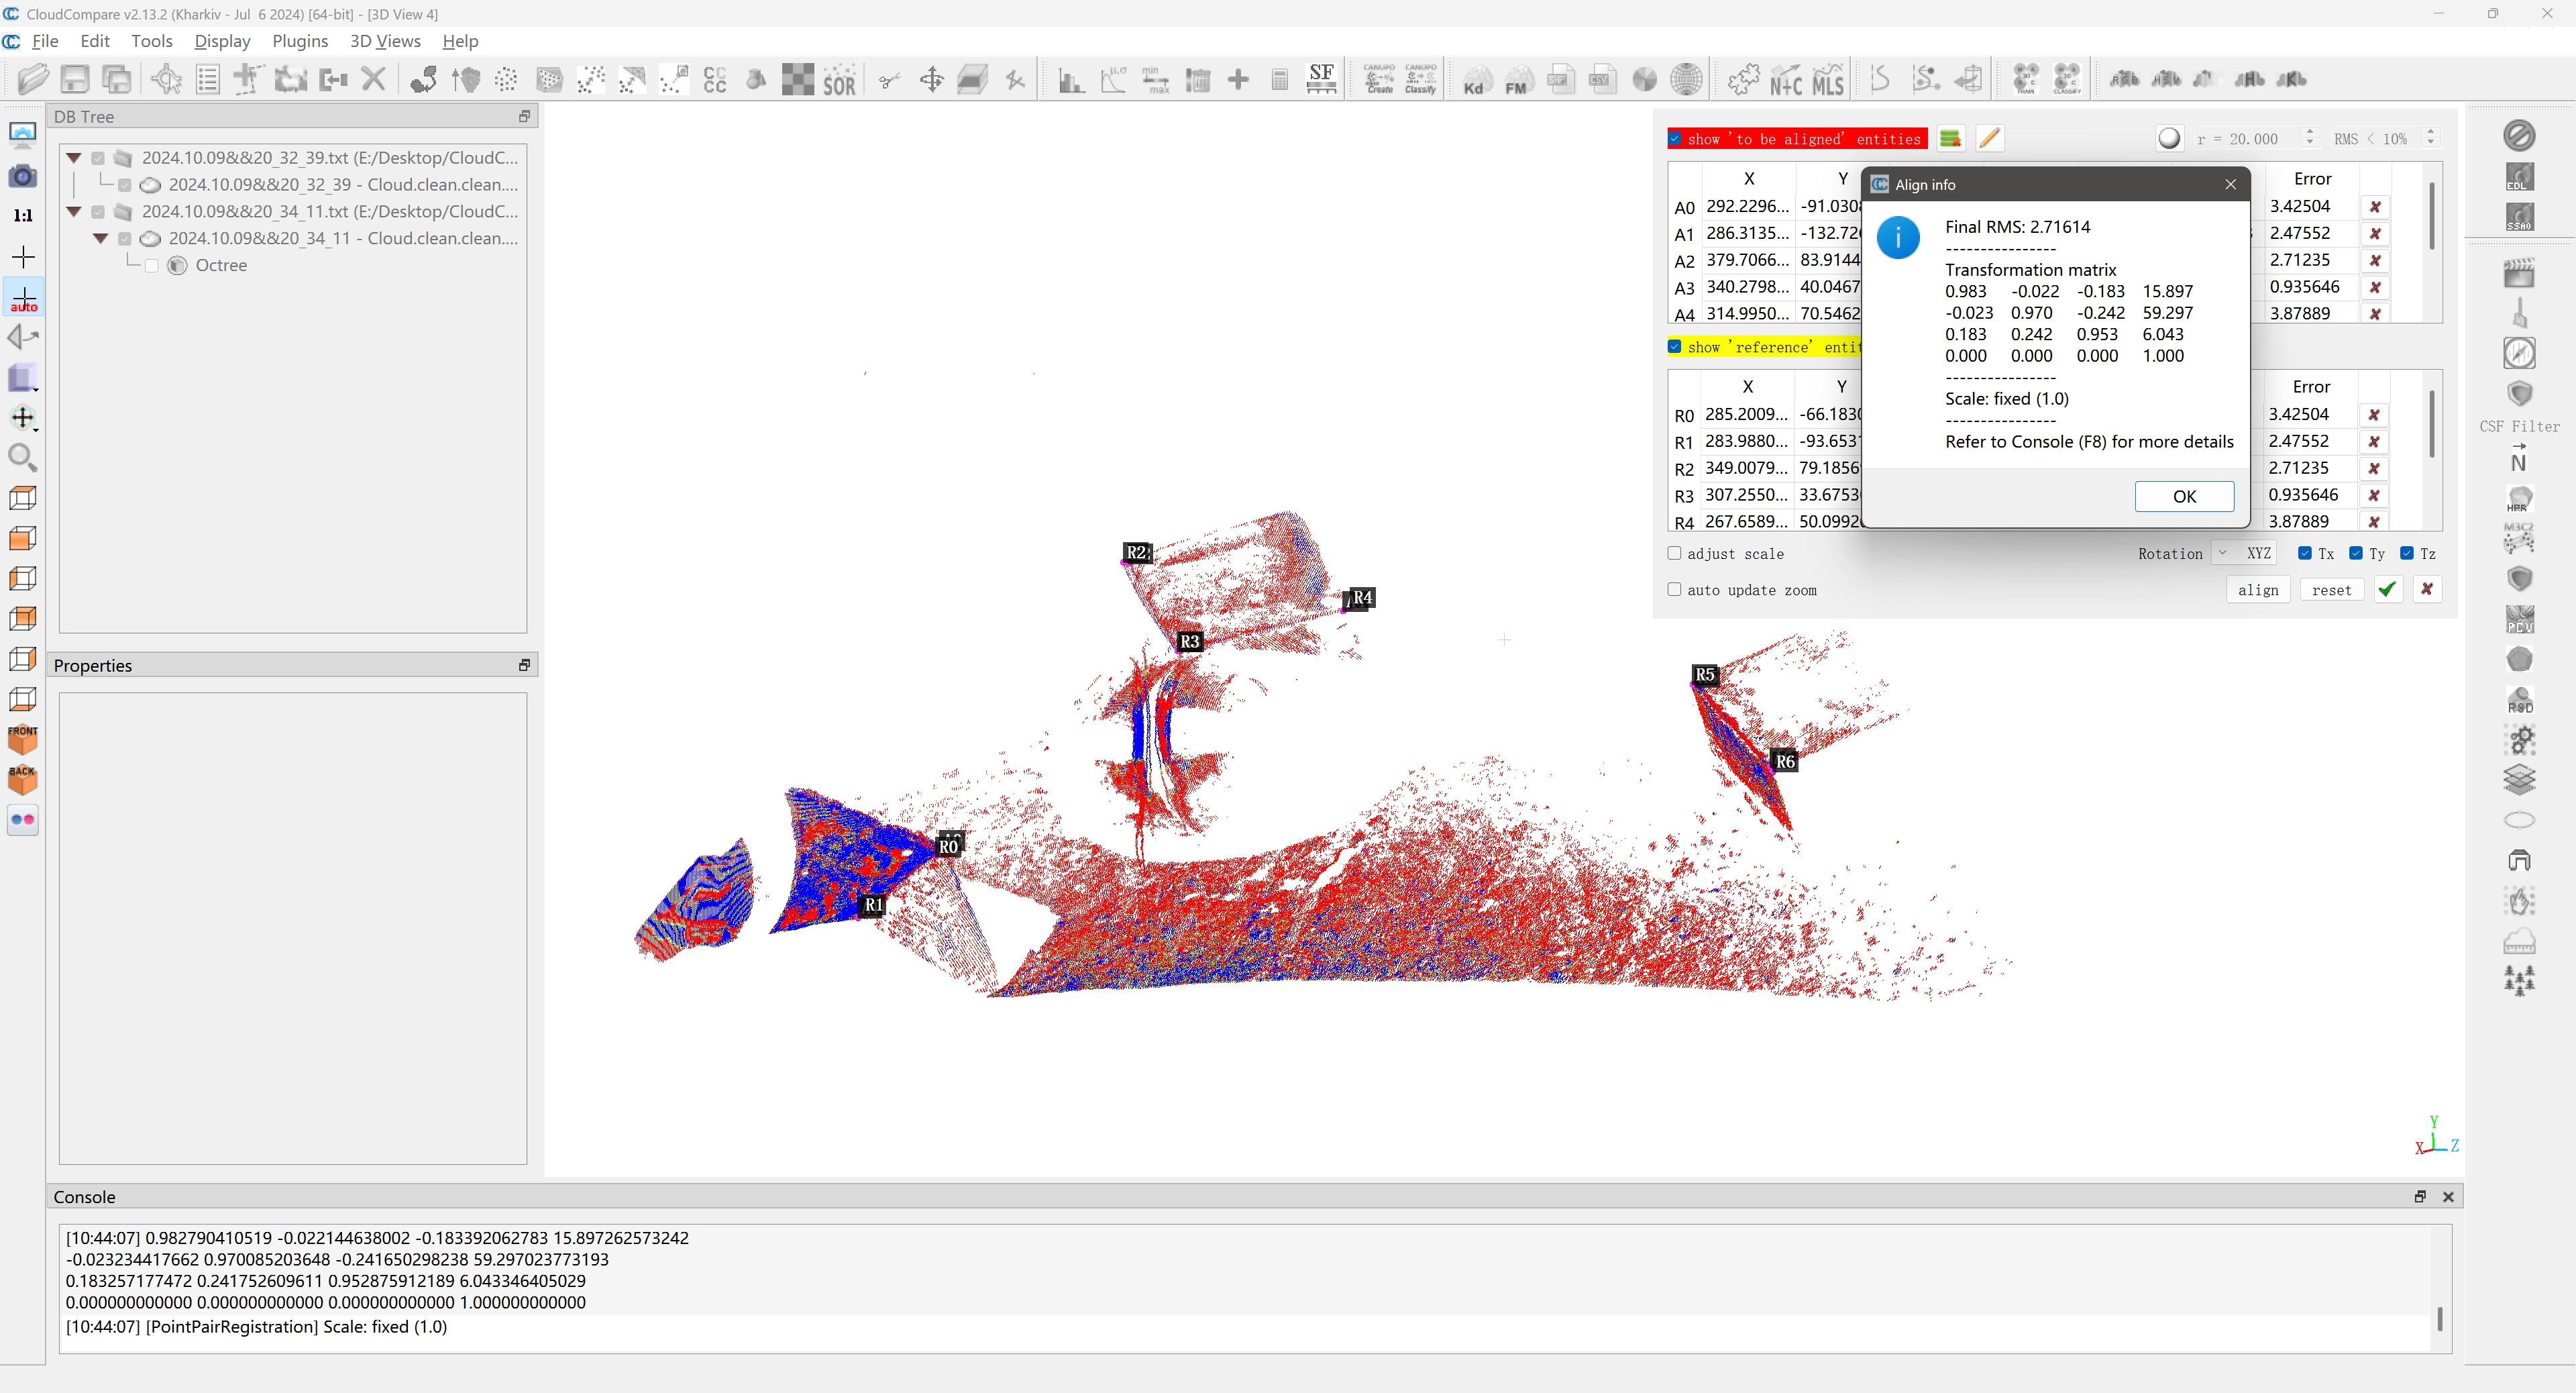
At this point, the task of modifying and merging the three-dimensional point cloud using CloudCompare is complete.